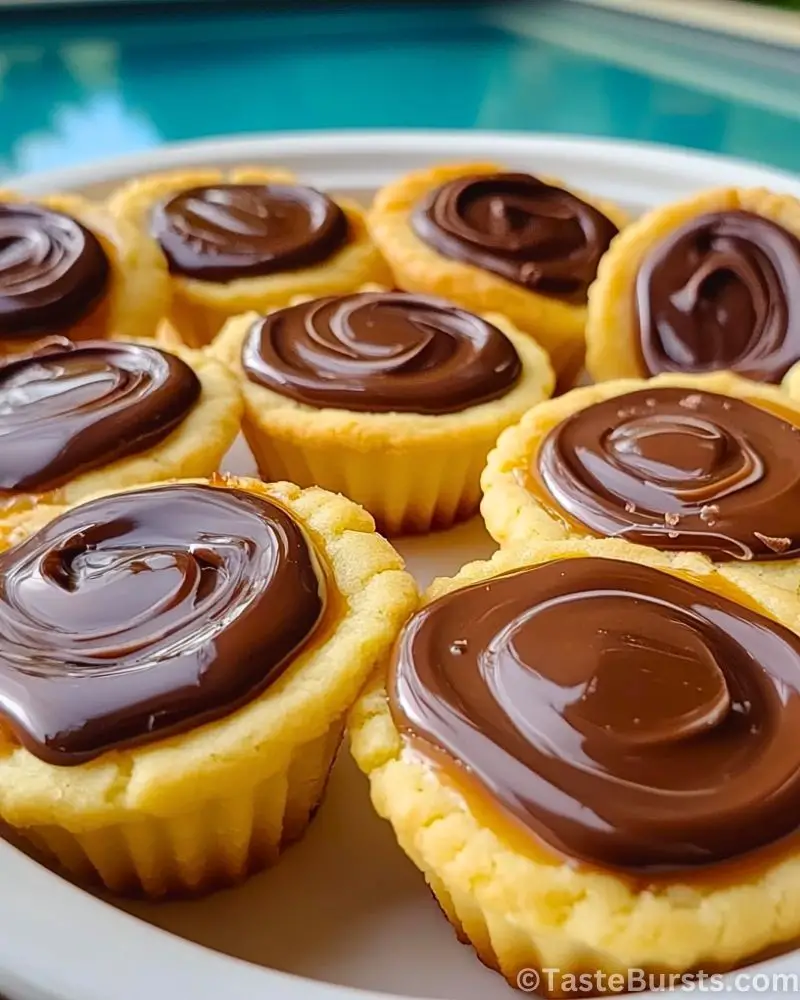
Twix Cookie Cups are the perfect bite-sized treat for anyone who loves the classic combination of buttery shortbread, rich caramel, and smooth chocolate. These delightful mini desserts capture the essence of a Twix bar but in a soft, melt-in-your-mouth cookie cup form. With a crisp yet tender cookie base, a luscious caramel center, and a silky chocolate topping, every bite is pure bliss. They’re easy to make, fun to decorate, and perfect for sharing at parties, holidays, or whenever you’re craving something sweet.
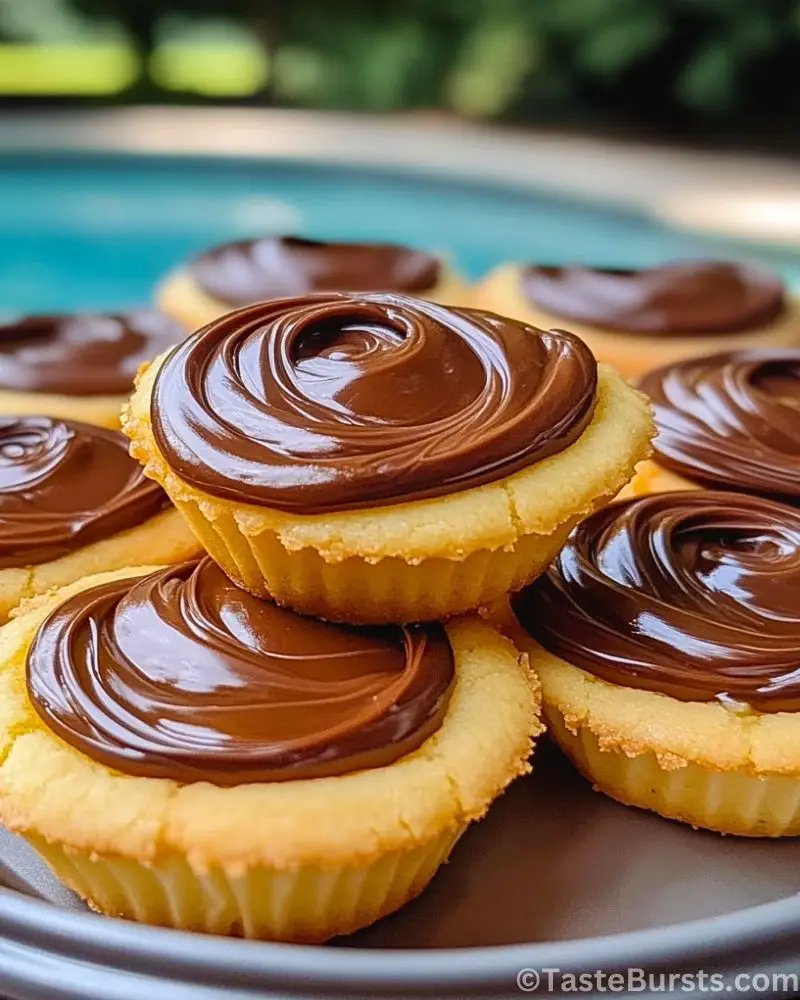
What makes Twix Cookie Cups so special is how they balance textures and flavors in a compact, handheld dessert. The buttery shortbread holds up beautifully to the gooey caramel, while the glossy chocolate layer adds the perfect finishing touch. Whether you’re a Twix lover or just someone who enjoys indulgent treats, these cookie cups are sure to be a favorite.
Why You’ll Love This Twix Cookie Cups Recipe
- Classic Twix flavors in a homemade treat – Enjoy the iconic taste of a Twix bar, but in a freshly baked cookie cup version.
- Simple ingredients, big flavor – You don’t need fancy ingredients to create a delicious dessert everyone will love.
- Perfect for any occasion – Whether for a party, bake sale, or just a sweet craving, these cookie cups fit any celebration.
- Make-ahead friendly – Prepare them in advance and store them for a convenient, ready-to-serve dessert.
- Fun and easy to make – No complicated steps, making them great for beginners and fun for kids to help with!
Preparation Phase & Tools to Use
Making Twix Cookie Cups is a straightforward process, but having the right tools will make everything easier and ensure perfect results. Here’s what you’ll need:
- Mini Muffin Tin – Essential for shaping the cookie cups, giving them the perfect bite-sized form.
- Mixing Bowls – Used for preparing the shortbread dough, melting chocolate, and mixing caramel.
- Electric Mixer – Helps cream the butter and sugar for a smooth, fluffy dough.
- Measuring Cups & Spoons – Accurate measurements ensure a consistent texture and taste.
- Silicone Spatula – Handy for folding ingredients and scraping every last bit of caramel and chocolate.
- Saucepan – Needed to heat and melt the caramel for a smooth, gooey filling.
- Microwave-Safe Bowl – Used to melt the chocolate quickly and efficiently.
- Piping Bag or Spoon – Makes it easy to fill the cookie cups with caramel and spread the chocolate evenly.
By using these tools, you’ll create perfectly shaped, evenly baked cookie cups with a flawless caramel and chocolate topping.
Preparation Tips
- Chill the dough – Letting the dough rest in the fridge for 15–20 minutes makes it easier to handle and prevents spreading in the oven.
- Grease the muffin tin well – A light coating of butter or non-stick spray ensures the cookie cups pop out easily after baking.
- Create an indentation – Use a small spoon or the back of a measuring spoon to press into the dough before or right after baking, creating a well for the caramel.
- Melt the caramel gently – Heat it slowly over low heat or in short microwave bursts to prevent it from hardening too quickly.
- Let the caramel set – Before adding the chocolate layer, allow the caramel to cool slightly so the layers stay distinct.
- Use quality chocolate – A good-quality chocolate bar or chocolate chips will melt smoothly and give a glossy finish.
With these tips, your Twix Cookie Cups will have the ideal balance of texture and flavor!
Ingredients for This Twix Cookie Cups Recipe
For the Cookie Base:
- 1 cup (2 sticks) unsalted butter, softened
- ½ cup granulated sugar
- 2 cups all-purpose flour
- ½ teaspoon vanilla extract
- ¼ teaspoon salt
For the Caramel Filling:
- 1 cup soft caramels (such as Kraft or Werther’s), unwrapped
- 2 tablespoons heavy cream
For the Chocolate Topping:
- 1 cup semi-sweet or milk chocolate chips
- 1 teaspoon vegetable oil or coconut oil (for a smooth, shiny finish)
These simple ingredients come together to create the perfect bite-sized version of Twix bars—rich, buttery, and absolutely irresistible!
Step 1: Prepare the Cookie Dough
In a large mixing bowl, beat the softened butter and granulated sugar together until light and fluffy. Add the vanilla extract and mix well. Gradually add the flour and salt, mixing until a soft dough forms. If the dough feels too sticky, chill it in the refrigerator for 15–20 minutes.
Step 2: Shape and Bake the Cookie Cups
Preheat your oven to 350°F (175°C). Grease a mini muffin tin with non-stick spray or butter. Roll the dough into small balls (about 1-inch each) and place them in the muffin tin. Use your thumb or the back of a measuring spoon to press down in the center of each ball, creating a small well.
Bake for 10–12 minutes or until the edges are lightly golden. Once out of the oven, reinforce the wells by pressing down again with a spoon while the cookies are still warm. Let them cool completely in the tin before removing.
Step 3: Prepare the Caramel Filling
In a microwave-safe bowl, combine the unwrapped caramels and heavy cream. Microwave in 20-second intervals, stirring in between, until the caramel is fully melted and smooth. Let it cool slightly, then spoon or pipe the caramel into each cookie cup. Allow the caramel to set for about 10–15 minutes.
Step 4: Melt and Add the Chocolate Topping
Place the chocolate chips and vegetable oil (or coconut oil) in a microwave-safe bowl. Heat in 20-second bursts, stirring after each interval, until smooth and fully melted.
Spoon or drizzle the melted chocolate over the caramel layer, spreading it evenly with the back of a spoon. Let the chocolate set at room temperature or refrigerate for a faster setting.
Step 5: Serve and Enjoy!
Once the chocolate has fully set, gently remove the Twix Cookie Cups from the muffin tin. Serve them as a delightful dessert, or store them for later indulgence!
Notes
- Make-Ahead Option – You can prepare the cookie base a day in advance and store them in an airtight container before adding the caramel and chocolate.
- Caramel Consistency – If the caramel thickens too quickly while working, reheat it in short bursts in the microwave to keep it pourable.
- Chocolate Variations – Use dark chocolate for a richer taste or white chocolate for a fun twist.
- Decorate for Special Occasions – Sprinkle sea salt, crushed nuts, or festive sprinkles on top for an extra touch.
Watch Out for These Mistakes While Cooking
- Overbaking the Cookie Base – Since the cups continue to firm up after baking, take them out as soon as the edges turn golden. Overbaking can make them too hard.
- Not Greasing the Muffin Tin – The cookie cups can stick if the pan isn’t properly greased. Use non-stick spray or butter to prevent breaking when removing them.
- Skipping the Indent in the Dough – Creating a well in the dough before or right after baking ensures enough space for the caramel filling.
- Rushing the Cooling Process – Let the cookie cups cool completely before adding the caramel to prevent melting or sinking.
- Overheating the Chocolate – Chocolate burns easily; melt it in short bursts and stir frequently for a smooth finish.
- Using Hard Caramel – Avoid caramel that hardens too much after cooling. Adding heavy cream helps keep it soft and chewy.
By avoiding these common mistakes, your Twix Cookie Cups will turn out perfectly every time!
What to Serve With Twix Cookie Cups?
Twix Cookie Cups are a delightful treat on their own, but pairing them with the right accompaniments can make them even more enjoyable.
8 Perfect Pairings:
1. A Glass of Cold Milk
The classic combo! The rich chocolate and caramel flavors balance perfectly with a cold glass of milk.
2. Hot Coffee or Espresso
A strong cup of coffee or espresso cuts through the sweetness, making for a perfect afternoon treat.
3. Vanilla Ice Cream
Place a warm Twix Cookie Cup next to a scoop of vanilla ice cream for an indulgent dessert.
4. Whipped Cream & Berries
Top your cookie cups with fresh whipped cream and a few berries for a refreshing twist.
5. Caramel Drizzle & Nuts
Enhance the caramel flavor by drizzling extra caramel sauce and sprinkling chopped nuts on top.
6. Dark Chocolate Sauce
If you love extra chocolate, a drizzle of dark chocolate sauce takes these cookie cups to another level.
7. Salted Pretzels
The salty crunch of pretzels complements the sweet and buttery cookie cups for an addictive contrast.
8. Hot Chocolate
A cozy winter pairing—dip your Twix Cookie Cups into a warm mug of hot cocoa for an extra chocolatey experience.
With these delicious pairings, your Twix Cookie Cups can shine even more at any gathering or dessert spread!
Storage Instructions
To keep your Twix Cookie Cups fresh and delicious, follow these storage tips:
- At Room Temperature – Store in an airtight container for up to 5 days. Keep them in a cool, dry place to prevent the chocolate from melting.
- In the Refrigerator – If you prefer a firmer texture, store them in the fridge for up to 2 weeks. Let them sit at room temperature for a few minutes before serving.
- In the Freezer – Freeze in a single layer in an airtight container or freezer bag for up to 3 months. Thaw at room temperature before enjoying.
For best results, separate layers with parchment paper to prevent sticking.
Estimated Nutrition (Per Cookie Cup)
- Calories: ~180
- Carbohydrates: 20g
- Fat: 10g
- Protein: 2g
- Sugar: 12g
- Fiber: 1g
Note: These values are approximate and may vary depending on ingredient brands and portion sizes.
Frequently Asked Questions
1. Can I use store-bought caramel sauce instead of melting caramels?
Yes! Store-bought caramel sauce works well, but make sure it’s thick enough to set properly in the cookie cups.
2. How do I prevent my cookie cups from sticking to the muffin tin?
Grease the muffin tin well with butter or non-stick spray. You can also use mini cupcake liners for easy removal.
3. Can I make these cookie cups ahead of time?
Absolutely! You can bake the cookie cups a day or two in advance and store them in an airtight container before adding the caramel and chocolate.
4. What’s the best way to melt the chocolate?
Microwave in 20-second intervals, stirring after each, or use a double boiler on the stovetop for a smooth and even melt.
5. Can I use dark chocolate instead of milk chocolate?
Yes! Dark chocolate adds a richer, less sweet flavor that balances well with the caramel.
6. How can I make the caramel softer?
Mixing caramel with heavy cream keeps it soft and chewy. If it hardens too much after cooling, reheat it slightly.
7. Do these need to be refrigerated?
Not necessarily, but refrigeration helps them last longer, especially in warm climates where the chocolate may melt.
8. Can I add extra toppings?
Of course! Sea salt, chopped nuts, or even a drizzle of white chocolate can add a delicious twist.
Conclusion
Twix Cookie Cups are the ultimate bite-sized treat that brings together buttery shortbread, gooey caramel, and rich chocolate. Whether you’re making them for a special occasion or simply to satisfy a sweet craving, they’re easy to prepare and guaranteed to impress. With their perfect balance of textures and flavors, these cookie cups will quickly become a favorite in your dessert collection. Try them today and enjoy every delicious bite!